
My aim
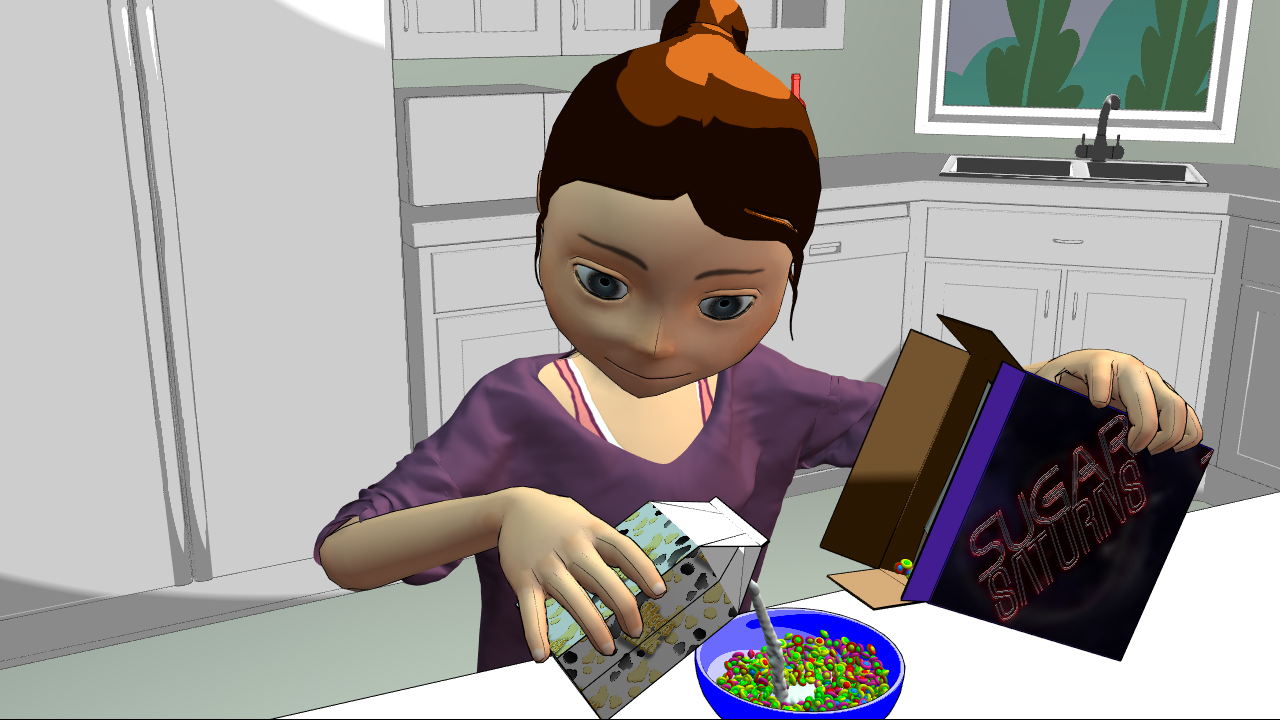
Create a scene that utilises the required dynamics while keeping them relevant to the scene provided and making them act as realistic as possible. I would also like to show a range of Maya’s nDynamics systems, including a special effect, so for my project, I decided to simulate a little girl wearing a night dress pouring breakfast cereal into a bowl and then pouring milk onto the cereal. The breakfast cereal is ‘Sugar Saturn’s – puffed rice in the shape of the planet Saturn. There’s a special gift in the cereal, a little UFO, once poured out of the box the UFO will fly away. I think a cartoon style (using Maya’s Toon tool) would be the best solution for the look of this animation, the simple style applied to the geometry will allow the dynamics to take centre stage.

Dynamic’s
nCloth – Night dress, bag holding cereal inside of the box and the girl’s hair.
nParticles – Cereal (instanced geometry), Milk (liquids) and smoke for the UFO
The Animation will last about 10 seconds allowing the dynamics to run in unison and interact with each other.
Assets needed for this scene are the kitchen that has been provided, a rigged character with a nightie, a UFO model, Cereal, box and bag plus a milk carton also.
Setting up the scene
I have modelled the cereal box, bag and 3 cereal shapes. I have used Andy-Rig 1.4.6 for my character due to the cartoon look of the character and it’s already rigged. I made a simple night dress to fit the Andy-Rig. For the UFO I used a free model that was provided as a download via 3D world magazine. First I connected the Andy-Rig hands with constraints to the cereal box and milk carton. Animating these two items to simulate the pouring motion of the cereal and milk, the movement of these drives the movement of the rigs arms. Extra movement of the Andy-Rig head and body was added to enable the dynamic animation of the hair and night dress. This animation was baked out as an alembic cache.
Dynamic Settings
nParticle
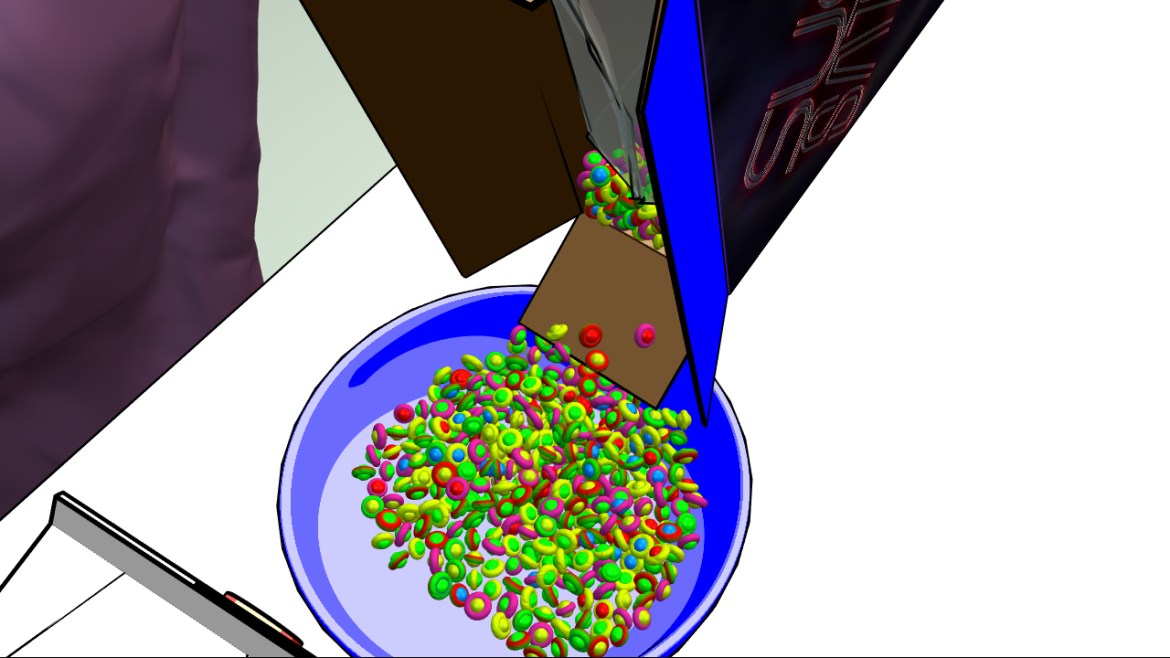
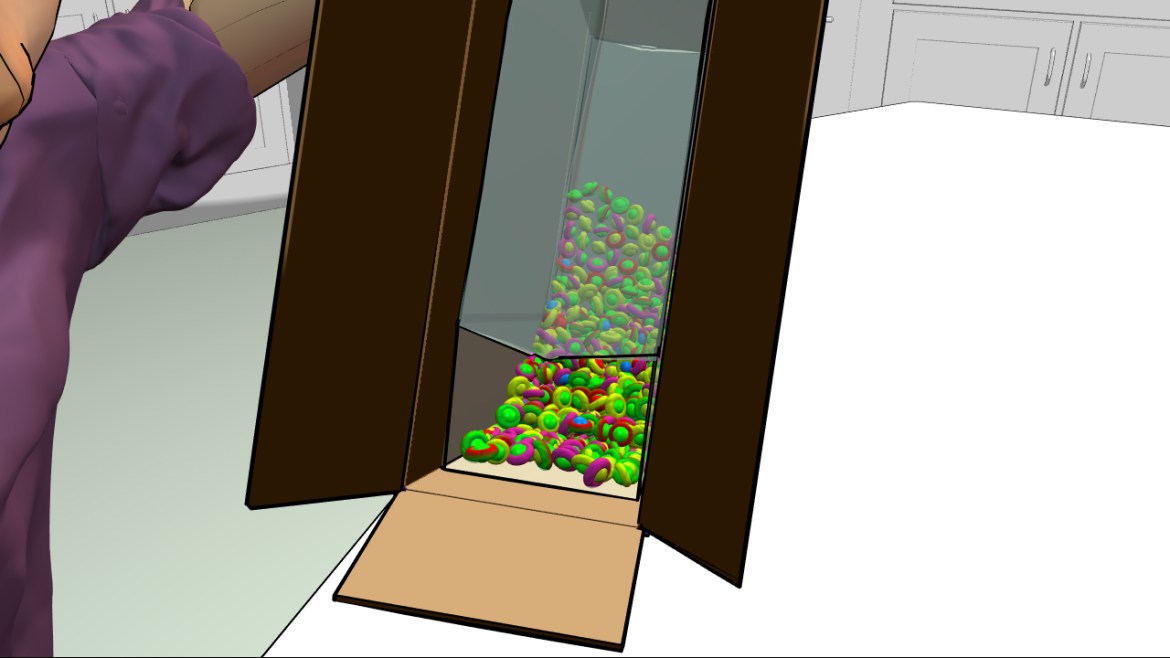
Cereal – Taking the geometry for the bag in the cereal box, I created a collider object of this, which also created the first nucleus (nucleus_Cereal). I applied an nParticle fill object to the bag using the spheres particle render type. This created nearly 800 particles in the bag, I reduced the size to 0.300. I applied an instance node to the particle and the 3 cereal geometry via an expression added to the Object index node in the Per Particle Attribute options. I also added an expression to randomise these instances and a random rotation attribute too. I set the self-collide on with the values of 1.252 collision width and 1.006 self-collide widths, this covered the whole sphere with the instanced geo attached. Changing the colour ramp in shading allowed a more random selection of coloured spheres to complement the colours of the instanced geo, this produced the Saturn shape. Simulating this by starting the nucleus solver at frame -10 and setting the initial state a few frames in. Other passive colliders added to the nucleus are the table, cereal box, and cereal bowl and I attached some “blockers” in order to guide the particle into the bowl and cut off the flow of particles out of the box stopping them when I wanted. I also added a uniform solver to sit in a half-sphere shape just above the bowl to catch and push any particles that might miss the bowl.
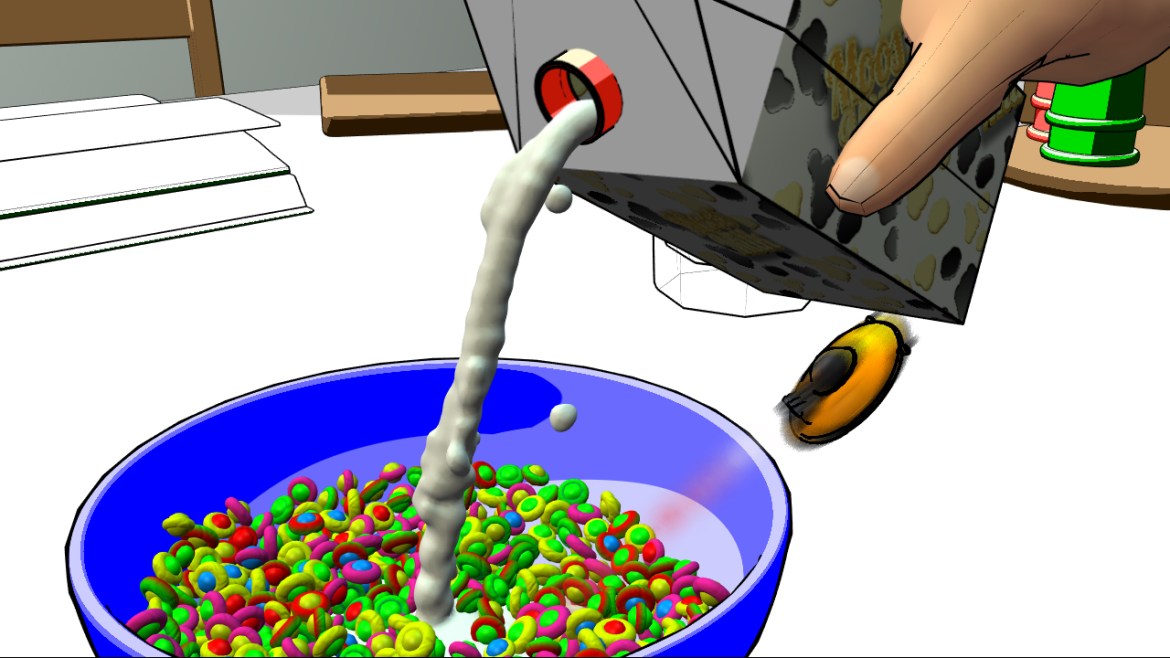
Milk – I wanted the milk to pour from the nozzle of the milk carton after the cereal is already in the bowl so I thought an emitter would allow me to start and stop the flow as I desired. The milk is under the same nucleus as the cereal because I want the two sets of particles to interact. Using the water pre-set particle type before creating the emitter set the basic liquid simulation values.
The setting to get the milk flow that I wanted are:
- Radius – 0.400
- Collison Width – 0.500
- Incompressibility – 1.00
- Rest Density – 2.00
- Liquid radius scale – 0.500
- Viscosity – 0.300
- Surface tension – 0.200
Emitting at a rate of 4.00 in the Z-axis. A variation in the emission rate over the 250 frames between 0 to 14000 gives a nice variation of particles enabling a more realistic liquid flow. I also found it necessary to add an extra pipe to guide the flow of particles out of the milk carton.
Converting the nParticle to a mesh I adjusted the output mesh settings to:
- Threshold – 0.700
- Blobby Radius Scale – 2.500
- Motion streak – 0.010
- Mesh Tringle size – 0.100
- Max triangles – 3000
- Mesh smoothing – 8
I found that I need to adjust the nucleus solver time setting to 1.50 to give a better calculation of the liquid, this also dampened the cereal particle stopping them from flying out of the bowl.
UFO – As an ‘added extra’ I created a rainbow smoke effect using nParticles coming out of the back of the UFO. This was created on its own Nucleus because I felt that the interactions with the other dynamics, although would be nice i.e milk and cereal collision, would have been minimal, over-complicated the scene, I also wanted to start the simulation about halfway through the animation so setting the solver to start at frame 110 let me do this neatly. I used the cloud particle type for this simulation with an emission rate of 2000 per second at a speed of 200. A particle radius of 0.300 with a decreasing radius scale ramp of the normalised age gave a nice looking trail of smoke, adjusting the opacity scale ramp to allow the smoke to fade away realistically, in contrast to this I added a rainbow of colours to the shader ramp and incandescence ramp, bring back the cartoon style I wanted to create.
nCloth
Night Dress – The geometry of the nightie isn’t the best and therefore hasn’t provided the best cloth simulation. To get the cloth to form to the cached geometry I created a new nucleus with the scene scale of 0.010 to bring it down to centimetres like the rest of the scene. I started the nucleus time at -100, this allowed me time to create a blend shape from the collision geometry (an instance of the out mesh of the Andy-Rig) moving the Main rigged geo over fifty frames allowed the cloth to move into position at a good rate without breaking it. I used the T-Shirt nCloth pre-set because I felt this would be the closest to a nightie material and therefore a good starting point. Running a few simulations and adjusting the settings required I found I need to change just a few, I increased the start resistance from 30 to 100, and increased the compression rate also. I added a value of 0.100 to the Input Mesh Attract in an effort to stop the cloth from deforming from the original geometry too much. I found it necessary to add a few dynamic constraints to the nCloth. The first one DC_dresstoNeck, is a point-to-surface constraint with a ring of vertices around the neckline constrained to the collision mesh stopping it from slipping. DC_ClothAll is a component to-component constraint to keep the shape of the mesh but allow springiness, this has a max distance of 2.00 but only strength of 0.500 and a tangent strength of 0.050. My last constraint was added to the sleeves and arms, DC_arm is another point to the surface constraint that just takes the vertices around the sleeves and stops them from moving to far from their original position, I added this because I found that they slid up the arms during the animation of the girl pouring the cereal, this caused some self-collision problems in the nCloth, this was the easiest way to solve this and less 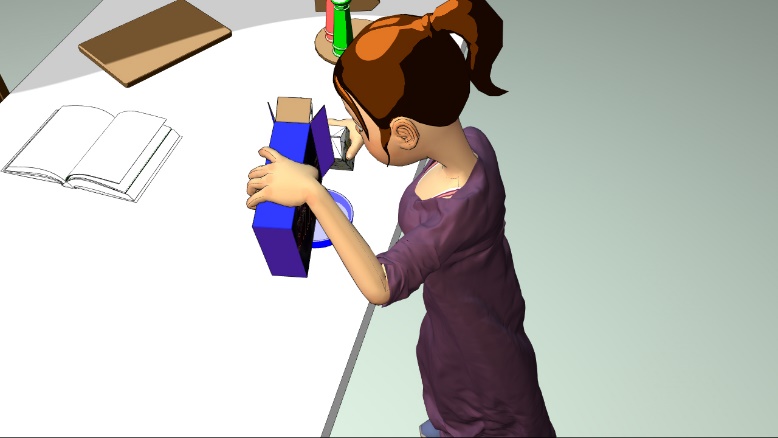 processing heavy (better than making self-collide to the full surface instead of Vertex Edge).
Hair – I have used nCloth to animate the hair geo on the girl instead of nHair, I thought this would allow the character to have a dynamic hairstyle but still keep it like a cartoon. I didn’t use a pre-set for this simulation but wanted to act more like a water balloon than a cloth, therefore I added a volume tracking pressure with a low dampening (0.100) and start pressure (0.600) which gave a bounciness to the geometry. I found that the constraints affected this nCloth more than any other setting. Having to add a variety of dynamic constraints to affect the way it stuck to the collision geo (point to the surface) ones to stop the ponytail from sagging and colliding with the back of the main geometry (component to component) and Collision exclusions added to the hairs that hang down the sides in order to stop the ‘roots’ colliding with the main hair. Paining vertex maps on to the geometry to add strength and exclude areas was necessary to get the control of these constraints.

Cereal Bag – My simplest dynamic set-up. This nCloth doesn’t need to move much and is really just a container for the nParticle of the cereal, but I wanted it to look like a realistic stiff plastic bag. I made the setting reflect this property with a high stretch, compression and shear resistance, and a point-to-surface constraint to keep the bag in the cereal box and allow it to follow the motion of this box but without falling out or collapsing when the cereal pours out of it. The bag does still rattle around in the box with the movement.
A lot of trial and error (and going back online to watch other tutorials) was needed to make the dynamic in this animation but I feel the time put into this project has been worthwhile and my knowledge is now many times better. I have made the animation more than was required by the module (character animation etc.) but I wanted to create something I might be able to use in my show real.
Andy-Rig Created by John Doublestein (02/21/2007)
www. johndoublestein.com
UFO-created by 3D world magazine (2015)